How to Install and Configure Your First MCP Server in 10 Minutes
Step-by-step guide to installing your first MCP server. From setup to integration with clients like Claude Desktop, Cursor, and VSCode, get your AI assistant connected to external tools quickly and securely.
Skip the Theory, Let's Get Our Hands Dirty
Tired of reading about the Model Context Protocol (MCP) without actually trying it? Let's fix that. In the next 10 minutes, you'll have your first MCP server running. We'll use a file system server as our example—practical, useful, and perfect for understanding how everything works.
What You'll Need
Before we start, make sure you have:
- An MCP-compatible client (like Claude Desktop, Cursor, or a VSCode extension)
- Node.js 18+ on your machine
- A terminal you're comfortable using
- About 10 minutes of your time
That's it. No complex setup, no enterprise accounts needed.
Step 1: Install the File System MCP Server
This is a universal first step, regardless of which AI client you use. Open your terminal and run this single command:
npm install -g @modelcontextprotocol/server-filesystem
This installs one of the most useful MCP servers available—it gives your AI assistant safe access to read and write files on your computer. Think of it as giving your AI hands to work with your files.
Step 2: Configure Your MCP Client
This is where the steps differ depending on your client.
For Claude Desktop
Claude Desktop looks for MCP servers in a specific configuration file. The location depends on your operating system:
- On Mac:
~/Library/Application Support/Claude/claude_desktop_config.json - On Windows:
%APPDATA%/Claude/claude_desktop_config.json - On Linux:
~/.config/Claude/claude_desktop_config.json
If the file doesn't exist, create it. Then, add the following content:
{
  "mcpServers": {
    "filesystem": {
      "command": "npx",
      "args": [
        "@modelcontextprotocol/server-filesystem",
        "/path/to/your/project/folder"
      ]
    }
  }
}
For Cursor
Cursor offers two ways to configure MCP servers: globally or per-project.
Global Configuration (Recommended):
- Go to File > Preferences > Cursor Settings.
- Navigate to Features and scroll to the "MCP Servers" section.
- Click + Add New MCP Server and enter the details.
- Name:
filesystem - Transport Type:
command - Command:
npx @modelcontextprotocol/server-filesystem /path/to/your/project/folder
- Name:
Project-Level Configuration:
- Create a
.cursordirectory in your project's root. - Inside, create a file named
mcp.json. - Add the same JSON content as the Claude Desktop configuration.
For VSCode and claude-code
For VSCode and its extensions like claude-code, you'll configure MCP servers on a per-project basis.
- Create a
.vscodedirectory in your project's root if it doesn't already exist. - Inside, create a file named
mcp.json. - Add the following content:
{
  "mcpServers": {
    "filesystem": {
      "command": "npx",
      "args": [
        "@modelcontextprotocol/server-filesystem",
        "/path/to/your/project/folder"
      ]
    }
  }
}
Important: For all clients, remember to replace /path/to/your/project/folder with the actual, absolute path to a folder you want the AI to access.
Note: We were unable to find specific MCP configuration instructions for Windsurf or Gemini CLI at this time.
Step 3: Restart Your Client and Test
After saving your configuration, completely restart your client (Claude Desktop, Cursor, or VSCode). This forces it to load the new settings.
Look for a small hammer icon (🔨) or a similar indicator in your AI interface—that's your sign that MCP servers are connected.
Now, test it! Start a new conversation and ask something like:
"Can you list the files in my project folder and tell me what you find?"
If it works, the AI will use the file system server to list the files in the directory you specified.
What Just Happened?
- Your client recognized it needed file access to answer your prompt.
- It called the MCP file system server you configured.
- The server safely read your folder (within the permissions you granted).
- The server returned the file list to the client.
- The client's AI formatted and presented the results.
All communication happened locally on your machine—no files were uploaded to external servers.
Beyond Files: What's Next?
Now that you've got your first MCP server running, the possibilities multiply:
- Database Access: Connect your AI to SQLite, PostgreSQL, or MySQL.
- Git Integration: Let your AI read repositories, check history, and even make commits.
- Web APIs: Set up servers that connect to REST APIs or other web services.
- Custom Tools: Build your own servers for specialized business logic.
The setup process is nearly identical—just different server names and configuration parameters.
Explore More
- Browse all MCP categories to discover the full range of available server types.
- Check out our featured MCP servers for curated and popular options.
Share this article
Found this helpful? Share it with others!
Related Articles
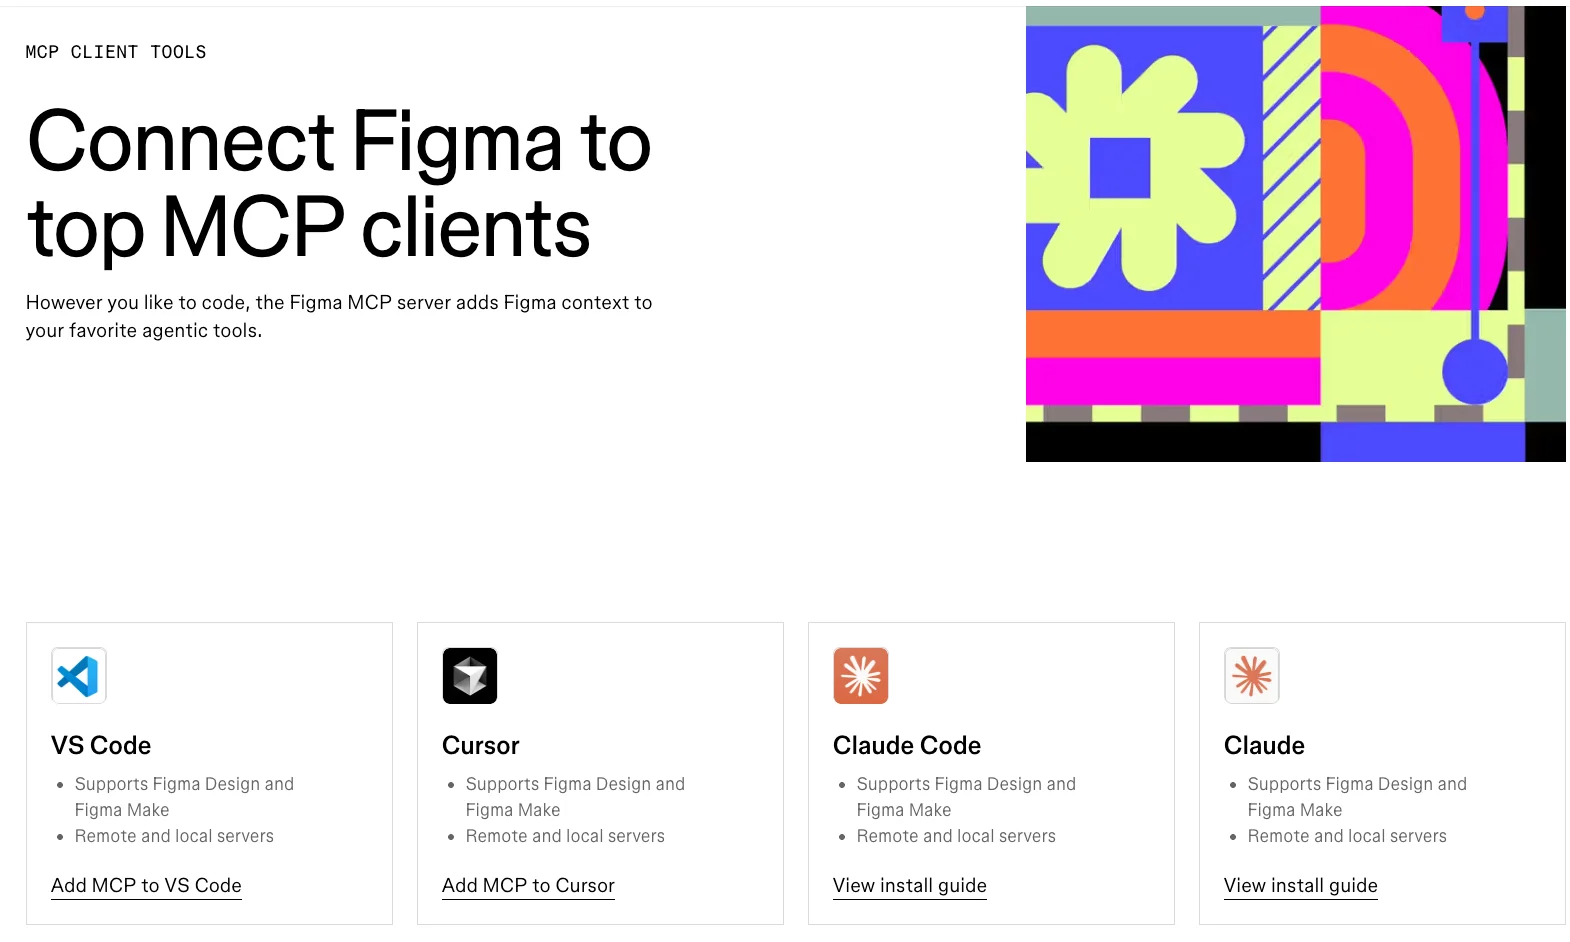
Figma MCP Server Best Practices: From Local Dev to Team Collaboration
A comprehensive guide to best practices for the Figma MCP Server. Learn how to optimize your local and remote setups for a seamless design-to-code workflow.
Building Your Own MCP Server: A Complete Guide from Idea to Production
Learn how to create custom MCP servers that integrate with any AI assistant. Complete with code examples, best practices, and deployment strategies for your specialized use cases.
Top 10 MCP Servers Every Developer Should Know About in 2025
Discover the most essential MCP servers that can supercharge your AI development workflow. From database connections to Git integration, these servers will save you countless hours.